
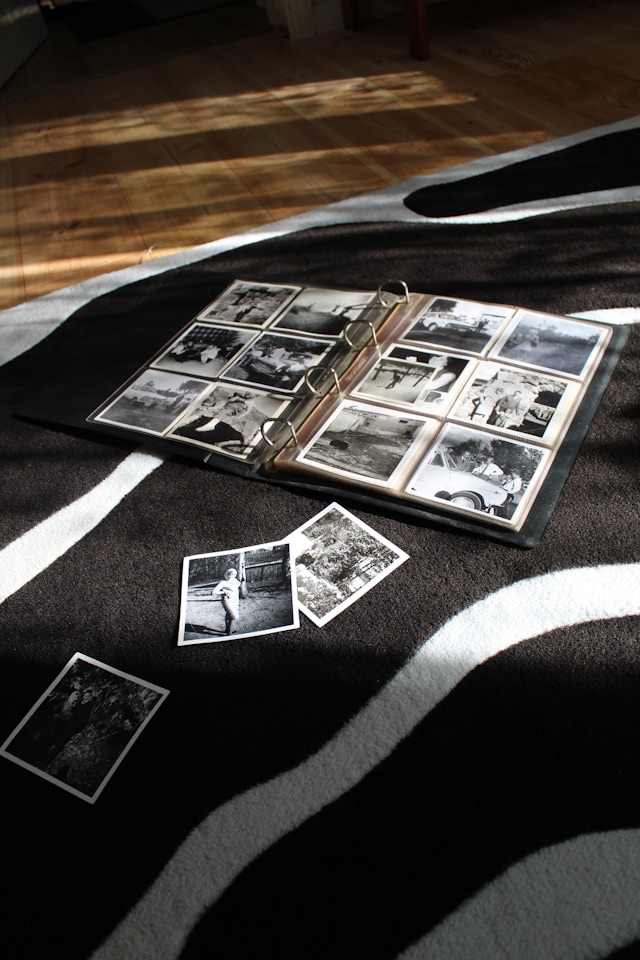
If you’re writing a book about your life story or family history, you’ll probably want to include photos. Not only do photos help portray your story, but they are also a valuable part of the memories you’re sharing with future generations. Here are some tips for how photos can help you piece your story together.
You might write a memory or a part of your life story and remember that you have a photo to go with it. If you can find the photo easily, that’s great. Go ahead and add it to your manuscript. You should also keep a copy of the original photo in the file with your manuscript, in case it needs to be reinserted during the book formatting process.
If you aren’t sure where the photo is, or if you don’t come across it easily, don’t let the search stop you from continuing to write your book. Just make a note in your manuscript (you can use the Comment function in a Word document) or add a note to your file folder, reminding you which photo you want to add and why. You can add the photo later, after you’ve written your first draft. Nothing can slow your writing momentum like a photo search. It’s the ultimate rabbit hole.
Photos Can Inspire Your Writing
As you’re looking for photos to go with your stories, if you come across other photos you’d like to write about, pull them aside with notes. That way you’ll remember later when you’re ready to write about them.
Be sure to connect your notes with the specific photo, either by putting them in a computer folder together or by scanning the photo into your notes document. Initial notes might include why you want to write about that photo, or any details you’re thinking of, so you don’t forget.

As you go along in writing your book, you might think of more ideas that go with that photo, and you can add those thoughts to your notes. For some photos, you might add so many notes that by the time you’re ready to focus on the photo, you’ll find that story is almost fully written.
When you’re working on a life story or family history, you don’t have to write the first draft in a particular order. So, you might jump into a photo-prompted story, even if it doesn’t tie in yet to what you’ve been working on. Follow the momentum. Whichever part of the story you feel led to write next, work on that.
Keeping Your Photos and Files Organized
You can organize your files in the way that seems most helpful to you. For many life story and family history books, it’s often helpful to set up a separate computer file folder for each section or topic. That way, as you begin to make notes, write memories, and find photos, you can keep those grouped together by topic.
Or you can put everything into one big manuscript, like a Word document, and just put temporary labels on each section. It really depends on whether you find it easier to scan through a large document to add notes, or whether you’d rather search through file folder names. If you have a lot of extra files, like photos and other materials, the separate topic file folders will probably be a good way to keep it all organized. But do what works for you.
Photo Quality Is Important for Publishing
If you are self-publishing your book, be sure to check with the printing company for their photo quality specifications. They can tell you the digital dimensions to ensure the best photo quality in your printed book.
With old family photos, it may not be possible to get a great digital quality. But it might be worth asking a digital photo expert to help you. With the right software and know-how, you can be sure to meet the printer’s specs and give readers the quality of photos they will enjoy.
Let’s say there’s a photo you really want to include, but it just won’t turn out well on the printed page. Perhaps you can create a supplemental web page for additional photos. That way, family members who are interested can read your book and then visit this other page to see more photos.
Technology has come a long way in making it easy to add photos to your book. So, don’t hesitate to include them. Photos tell your story using different senses than words. This all adds up to a great experience for your readers.
Keep in mind that color photos will increase your printing cost and therefore increase the book price your reader has to pay. So weigh those considerations. But don’t swap out color photos for black and white if that won’t be the best way to tell your story. Sometimes black and white photos are fantastic in books. It depends on what you’re presenting to the reader, and how.
Be Sure You Have Permission to Use Photos
Be sure you have permission, if needed, to use the photos in your published book, especially if your book will be distributed to the general public. Even if you took the photos yourself, be sure the people pictured in the photos agree to you including them in your published book.

If you’re doing a small print run for immediate family only, it’ll often be okay to use family photos, although you’ll still want to check with folks to avoid surprises. But if you plan to publish and distribute your book in a bigger venue, like Amazon, you’ll want to ensure you have written permission. Faces can be cropped or digitally obscured if permission is not available.*
Don’t overthink it, and don’t let it slow your momentum. For sure, don’t let uncertainty over photos be the reason you don’t publish. Simply ask, and if no answer, just put that photo aside for something different.
In writing a life story or family history, you may find photos that you don’t want to include in the book, but these photos will inspire you in your writing. Don’t hesitate to dig into those old albums, shoeboxes, or digital files to find inspiration. Be selective on the photos you include in the book, but make use of as many photos as you need to recall and write your story.
With diligence, creativity, and persistence, you’ll end up with a beautiful book that preserves a piece of history for generations to come. What a gift!
*Please note: I’m not a legal expert. Please consult a legal expert for details on publishing and photo permissions.
